Life Hack
How to Build a $0 Privacy-First Personal Cloud Using an Old Laptop
Every month, millions of people quietly pay $2.99–$29.99 to Apple, Google, or Microsoft just to store their own files on someone else’s computer. That old laptop collecting dust in your closet? It’s worth more than you think.
⚠️ The Privacy Tax You Didn’t Know You Were Paying
When you upload a photo to Google Photos, it’s analyzed by ML models for ad targeting. Apple holds your iCloud encryption keys — not you. Microsoft’s OneDrive ToS grants them a broad license to use your content. It’s all in the fine print nobody reads.
What You’ll Need
Probably already sitting in your home right now.
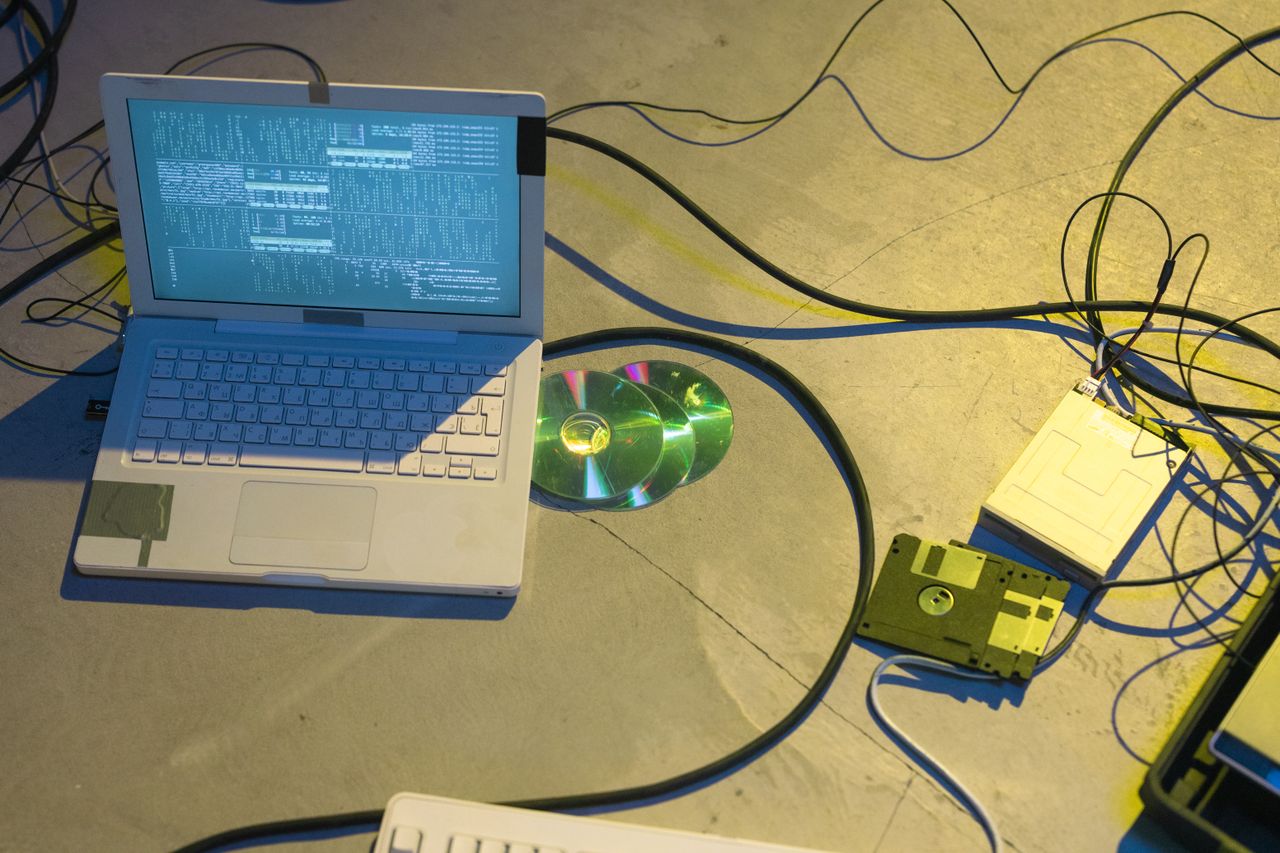
An Old Laptop
Anything from the last 10–12 years. Dead screen? Fine — it’ll run without one.
A USB Flash Drive
8 GB or larger. You likely have one in a drawer.
Home Internet
Which you obviously already have.
30–60 Minutes
Most of it is just waiting for things to install.
The Two Tools That Make This Possible
Both are 100% free and open source.
CasaOS gives your old machine a beautiful web-based dashboard — like your own iCloud web UI — running entirely on hardware in your home. Installs with a single terminal command.
- File manager accessible from any device on your network
- One-click app store (Nextcloud, Jellyfin, Immich, and more)
- Disk health monitoring and storage management
Syncthing keeps your files synced across all your devices. Files transfer peer-to-peer and are encrypted in transit — never touching a third-party server.
- Works on Windows, macOS, Linux, and Android
- No premium tiers, no usage limits, no trials
- You hold the encryption keys
Step-by-Step Setup
Install Ubuntu Server on Your Old Machine
Download Ubuntu Server 24.04 LTS (free), flash it to a USB stick with balenaEtcher, boot your laptop from the USB, and follow the installer. Accept all defaults.
Once installed, run:
⏱ ~20 minutes | 💰 $0
Install CasaOS in 60 Seconds
Run this single command on your Ubuntu machine:
When done, it prints a local IP (like 192.168.1.105). Open that in any browser on your home Wi-Fi. Your dashboard is live.
Install Syncthing from the App Store
Inside the CasaOS dashboard → click App Store → search Syncthing → click Install. No config files, no Docker knowledge needed. CasaOS handles everything.
Connect Your Devices
Install the Syncthing app on each device you want to sync:
- Windows / Mac / Linux: syncthing.net
- Android: Syncthing-Fork on the Play Store
- iPhone: Möbius Sync (free tier available)
💡 Bonus: Access From Anywhere
Syncthing’s relay network handles remote file sync automatically — no port forwarding needed. For full dashboard access from outside your home, install Tailscale (free for personal use). It creates a private encrypted network between all your devices — your home server appears local no matter where you are in the world.
The Real Comparison
| Feature | iCloud / Google One | Your Home Cloud |
|---|---|---|
| Monthly Cost | $2.99 – $29.99 | $0 |
| Storage Limit | 50 GB – 2 TB | Your entire hard drive |
| Who Holds the Keys | Apple / Google | You |
| Data Used for Ads | Yes | Never |
| Works Offline (local) | No | Yes |
The math is simple:
60 minutes of your time once
vs. hundreds of dollars and zero privacy every year, forever.
Go Further: One-Click Apps
Once CasaOS is running, the app store unlocks an entire ecosystem.
☁️ Nextcloud
Full Google Workspace alternative — calendar, contacts, office suite.
🎬 Jellyfin
Your personal Netflix for your own movies and TV shows.
📸 Immich
Self-hosted Google Photos with AI face recognition.
🔐 Vaultwarden
Self-hosted Bitwarden password manager.
Have you tried building a home server? Drop your setup in the comments below — especially if you’ve found a tool or trick that made the process easier. I read everything.